

Rarely will you ever walk into a home that has the same flooring throughout. To ensure each room is comfortable, functional and stylish there’s usually a different material used in the main living areas, bedrooms and wet areas. But with different flooring materials comes the challenge of creating seamless transitions between them. So, let’s look into some of the methods premium builders use to make floor transitions as seamless as possible, and how it differs depending on the materials you’re using.
Height
No matter what flooring materials you’re using, your first priority should be to ensure the finished floor level will be consistent throughout the home. Material thickness plays an important role here.
If building a new home, the subfloors for each room need to be installed at a height that still allows the flooring of choice to sit on top. For example, if you plan to have timber floorboards that are 20mm thick in the hallway and tiles that are 10mm thick in the bathroom, the subfloor of the hallway should be 10mm lower than that of the bathroom, so you end up with a flush finish. Be particularly careful with polished concrete here as it doesn’t need subfloors and should, therefore, be installed directly to the finished floor height.
If you’re renovating and don’t plan to replace the subflooring, your finished floor height must be determined according to the thickest flooring material.
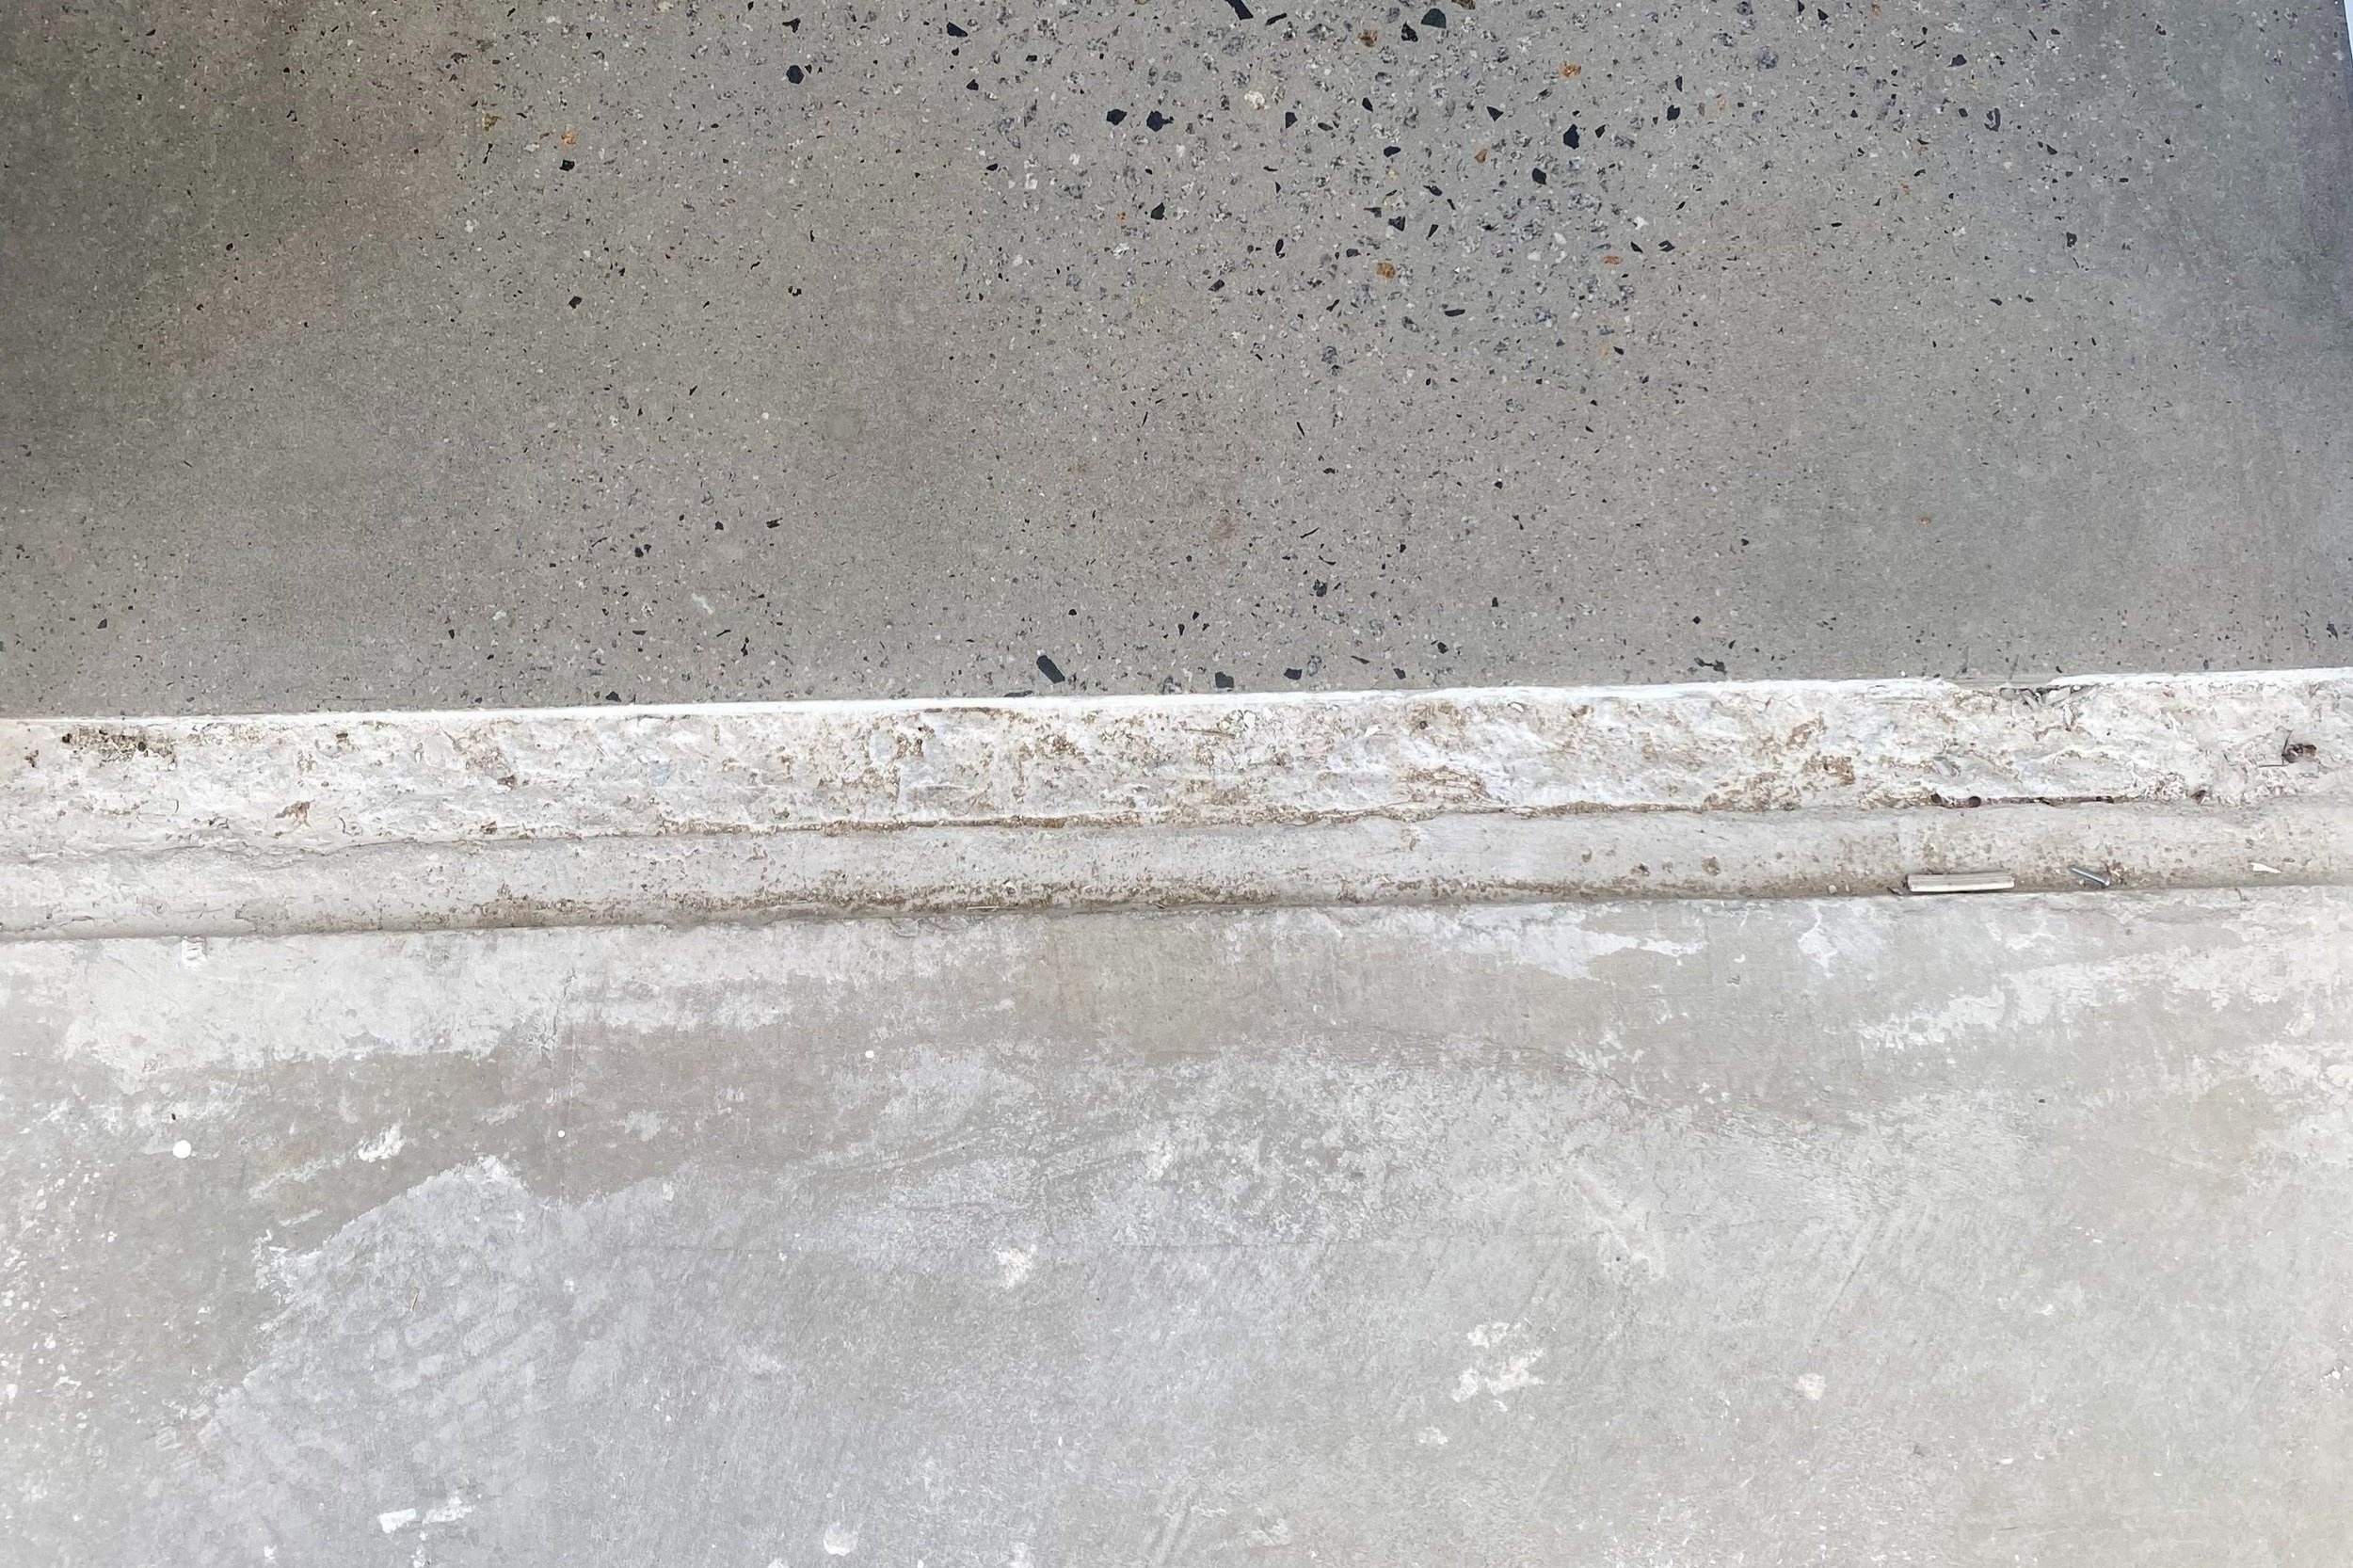
Here, you can see the height difference between the polished concrete (installed at floor height) and sub-floors of what would become a carpeted area.
Location of the transition
Where you make the transition is also important in your design. The most seamless location for this is at the halfway point directly under the closed door, so you can’t see the transition from either room when the door is closed.
If there is no door or you’re making the transition in the middle of a room, more consideration should be made for the type of transition to make it as aesthetic as possible. A clean, straight line may be ideal, but more irregular options, like curved lines or a staggered transition can make it a design feature—just make sure it works with the rest of the design too.

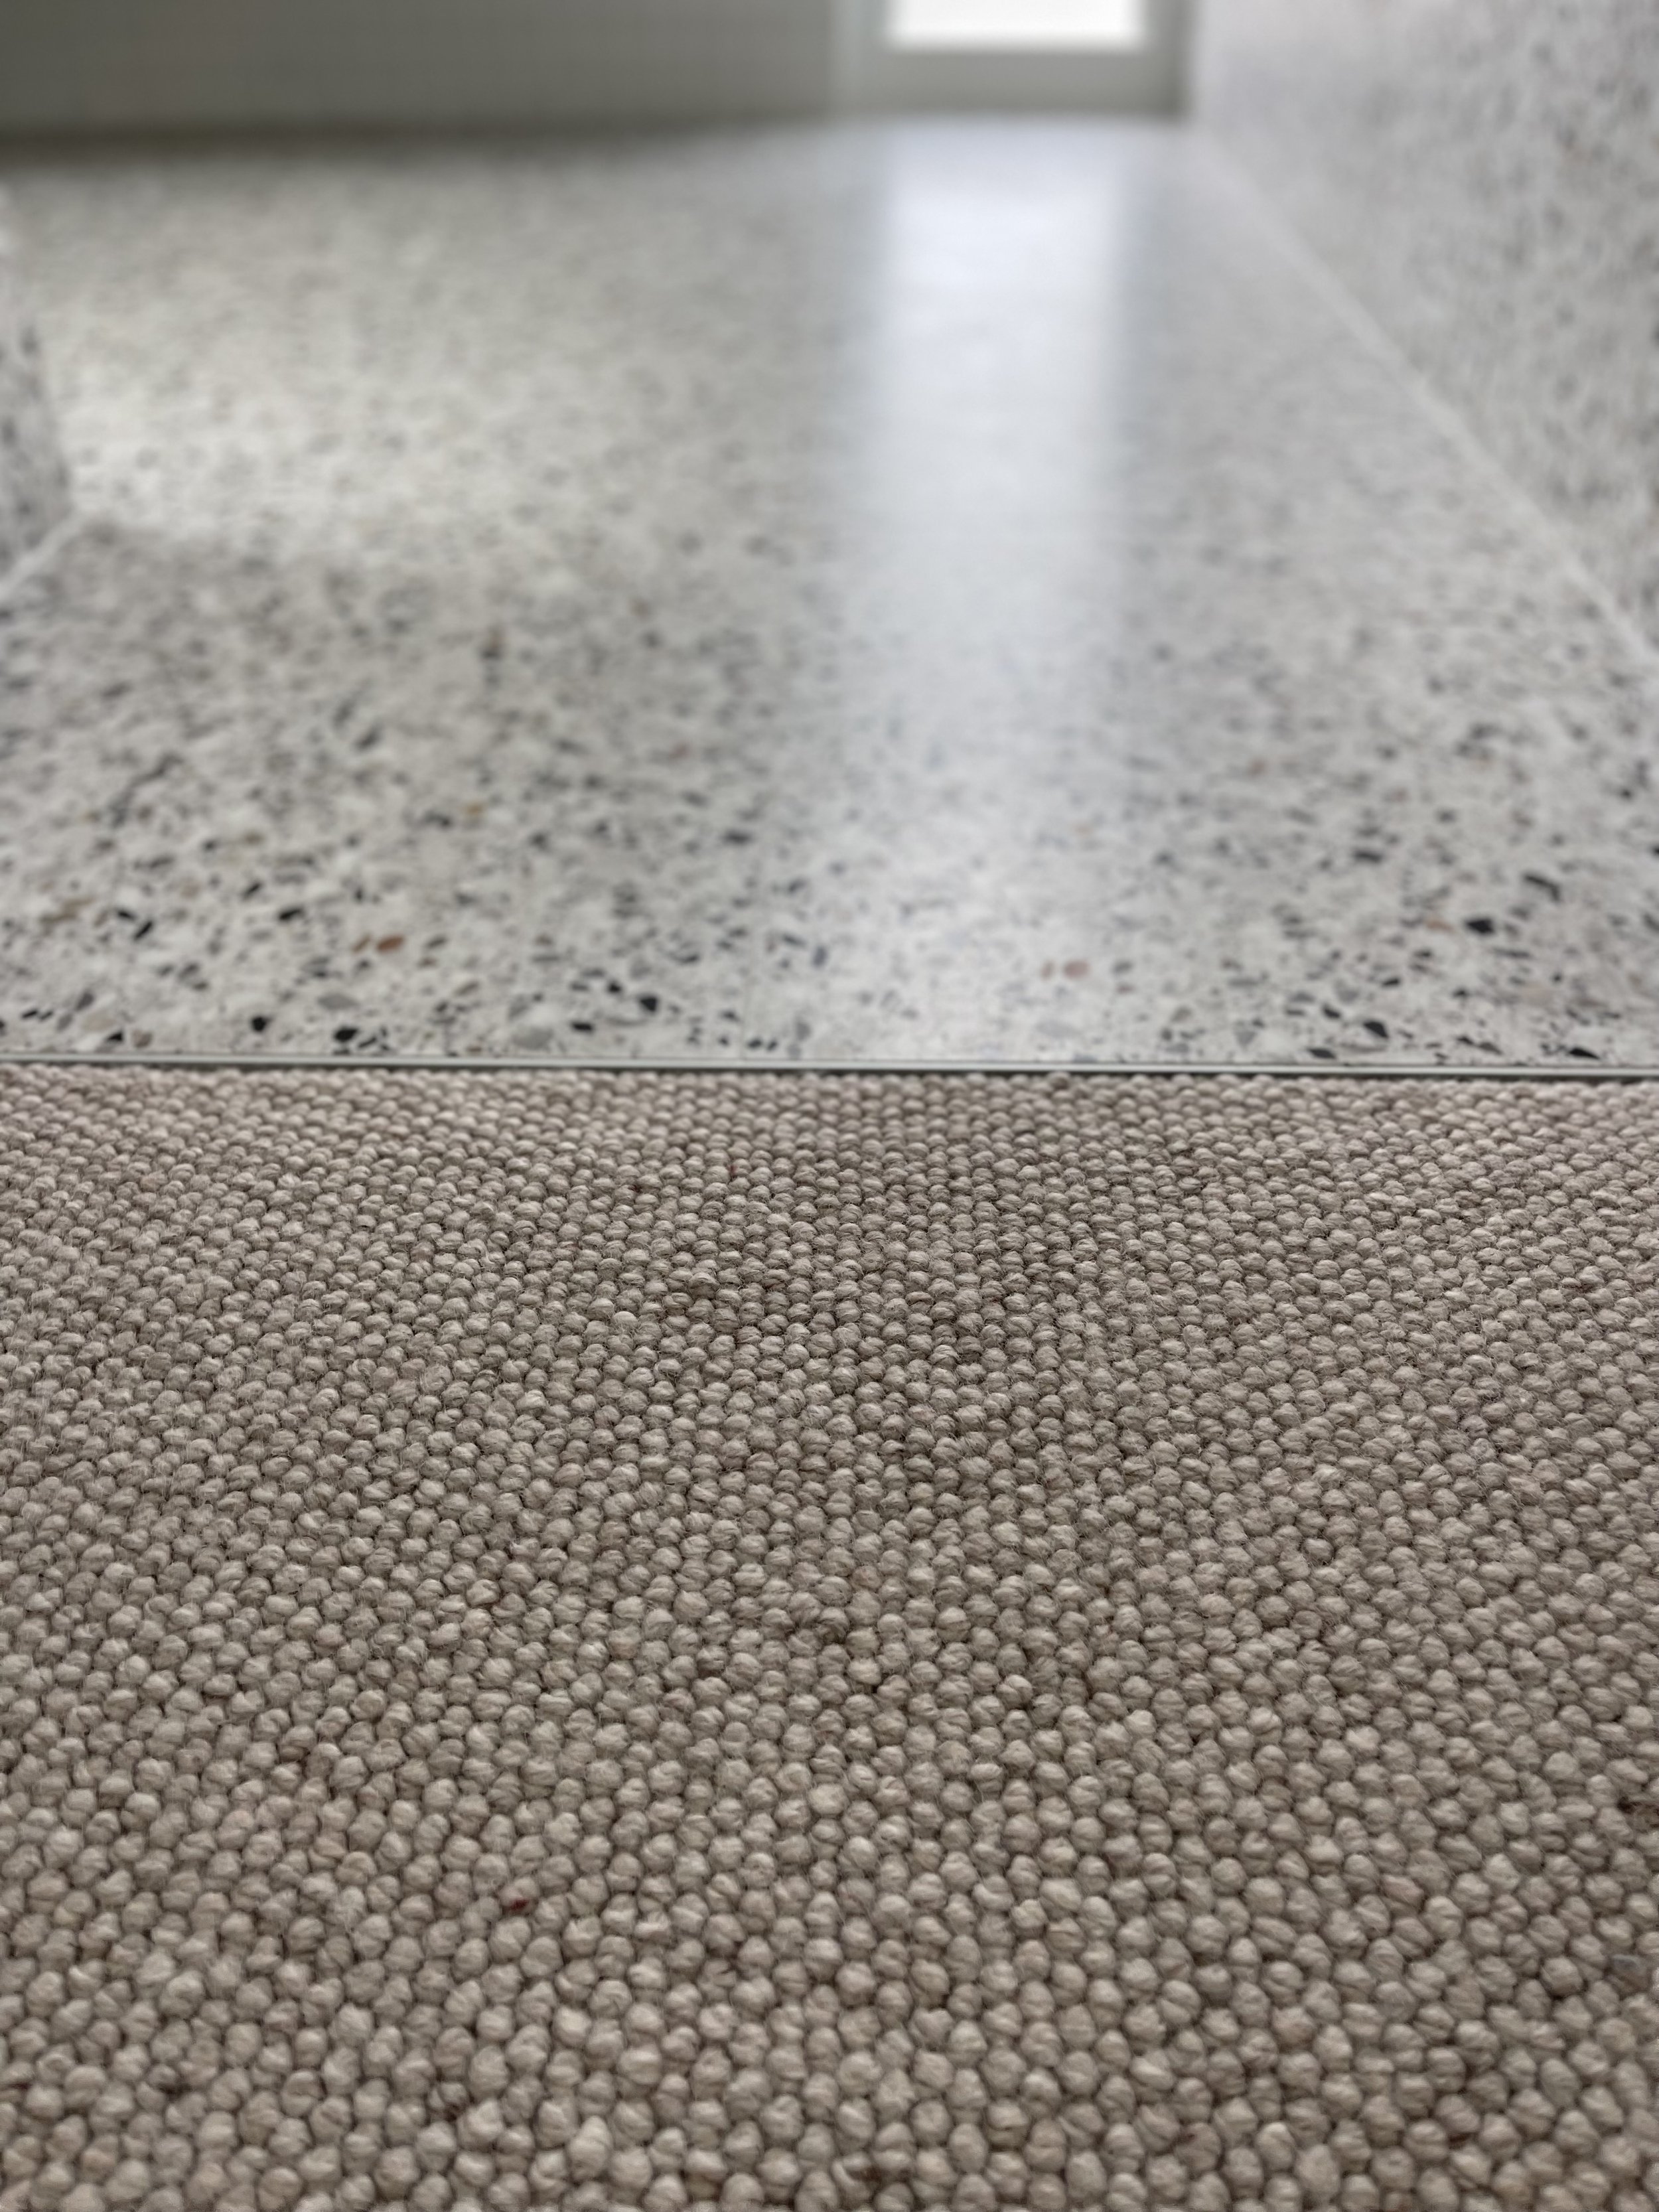
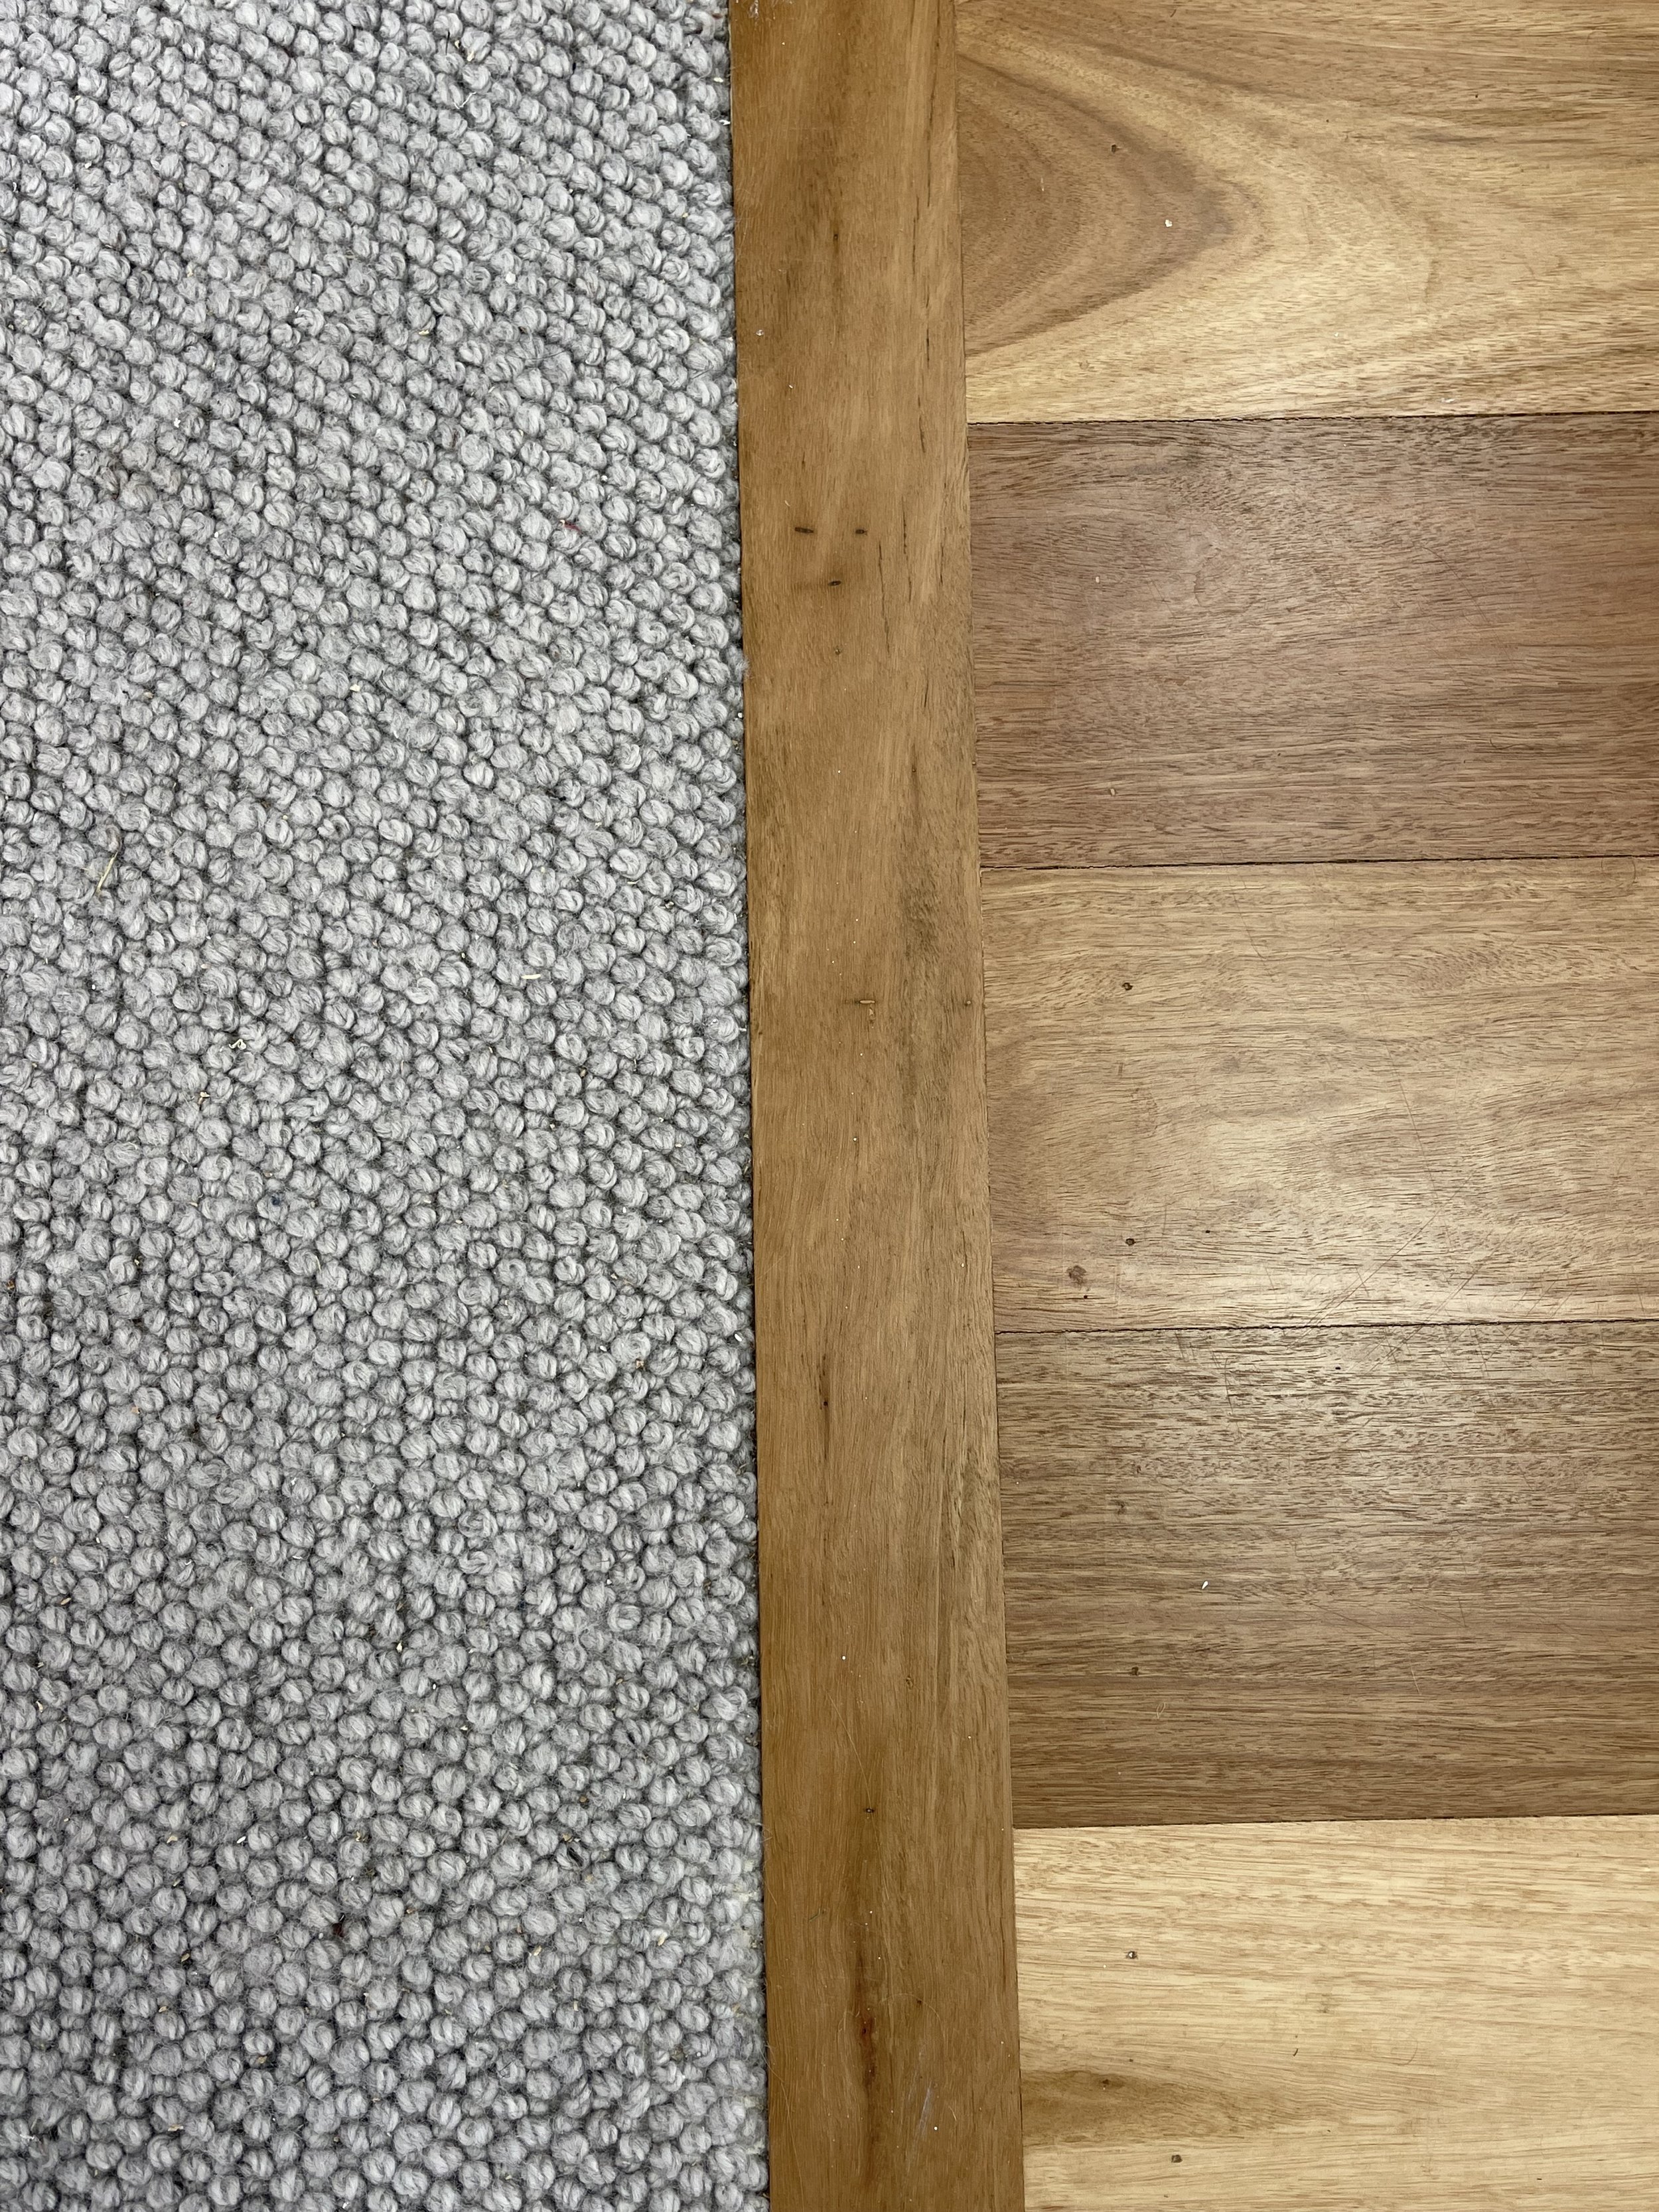
Note the location of the transition in the doorframe.
The transition
Unless your floor transition is meant to be a stylistic feature, your goal should be to make it barely noticeable, even if the two materials clash. To do this, care needs to be taken to choose the right transition method depending on the materials you’re using.
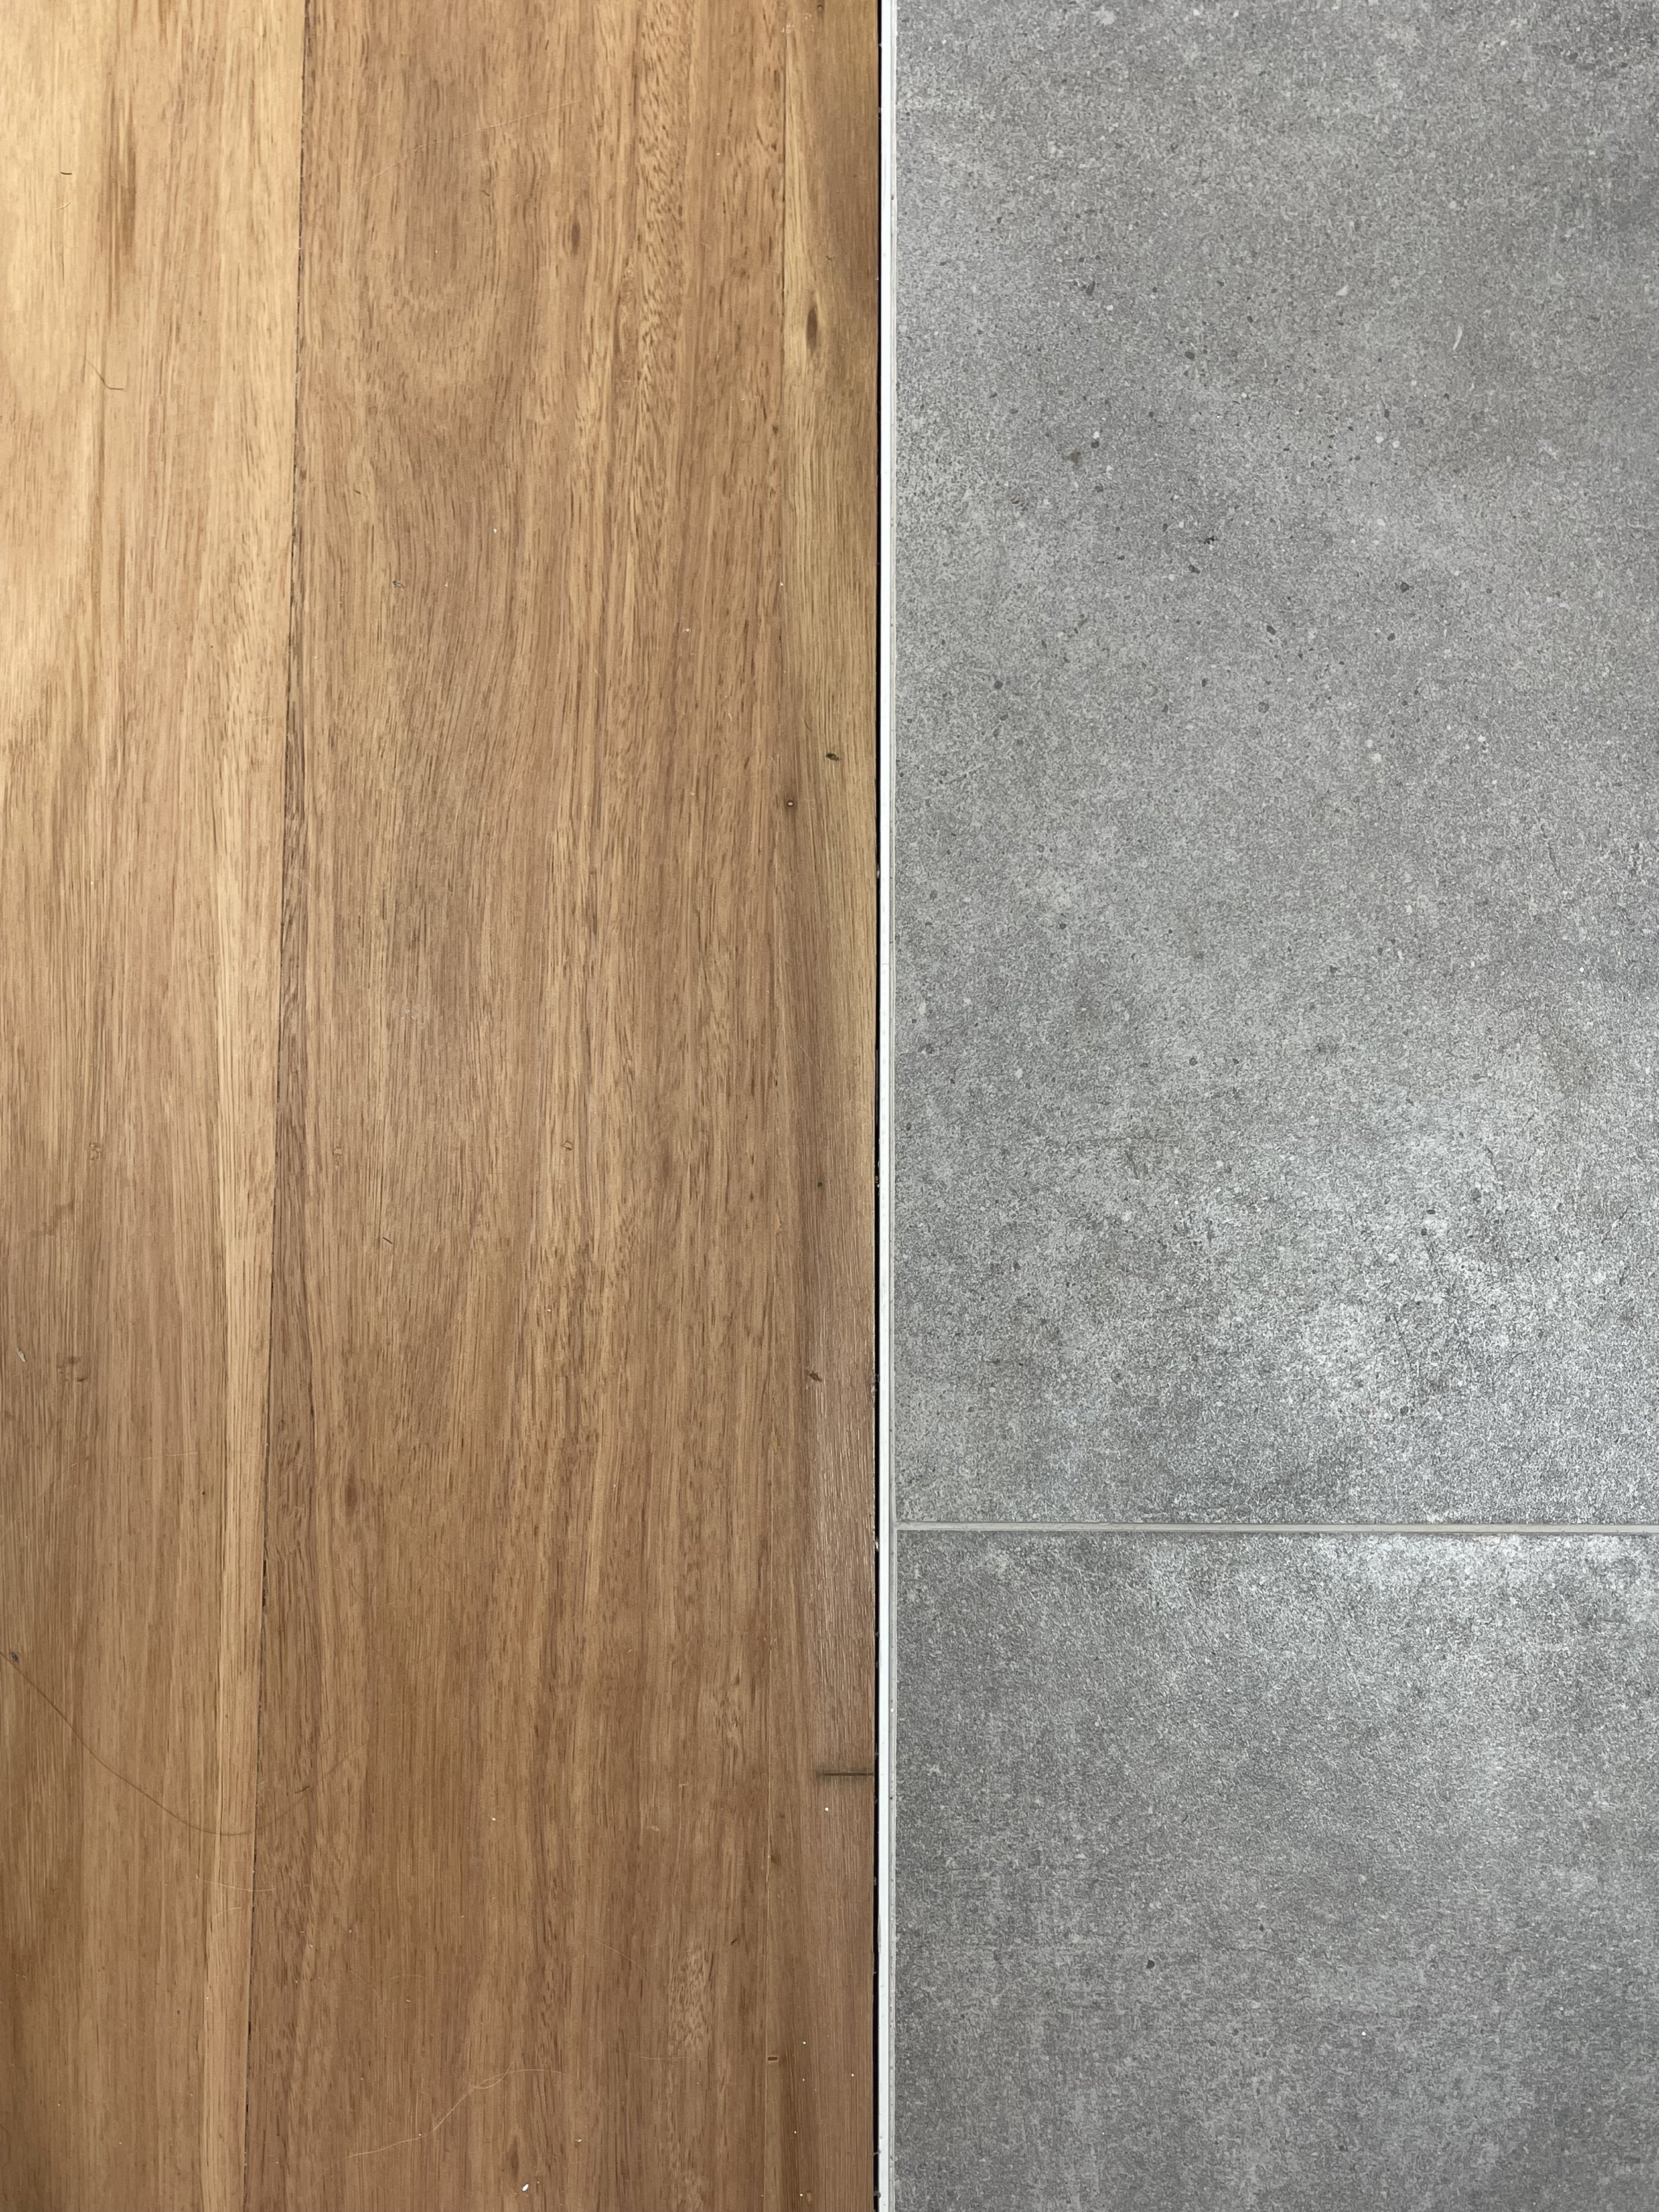
In many cases, an angle trim—an L-shaped strip of typically aluminium that sits between your two flooring types—will be necessary. These are typically used when transitioning from tile to any other material, like carpet or timber, to cover the cut edge of the tile. They come in a wide range of colours, so be sure to choose the one that will best suit the home’s interior design.
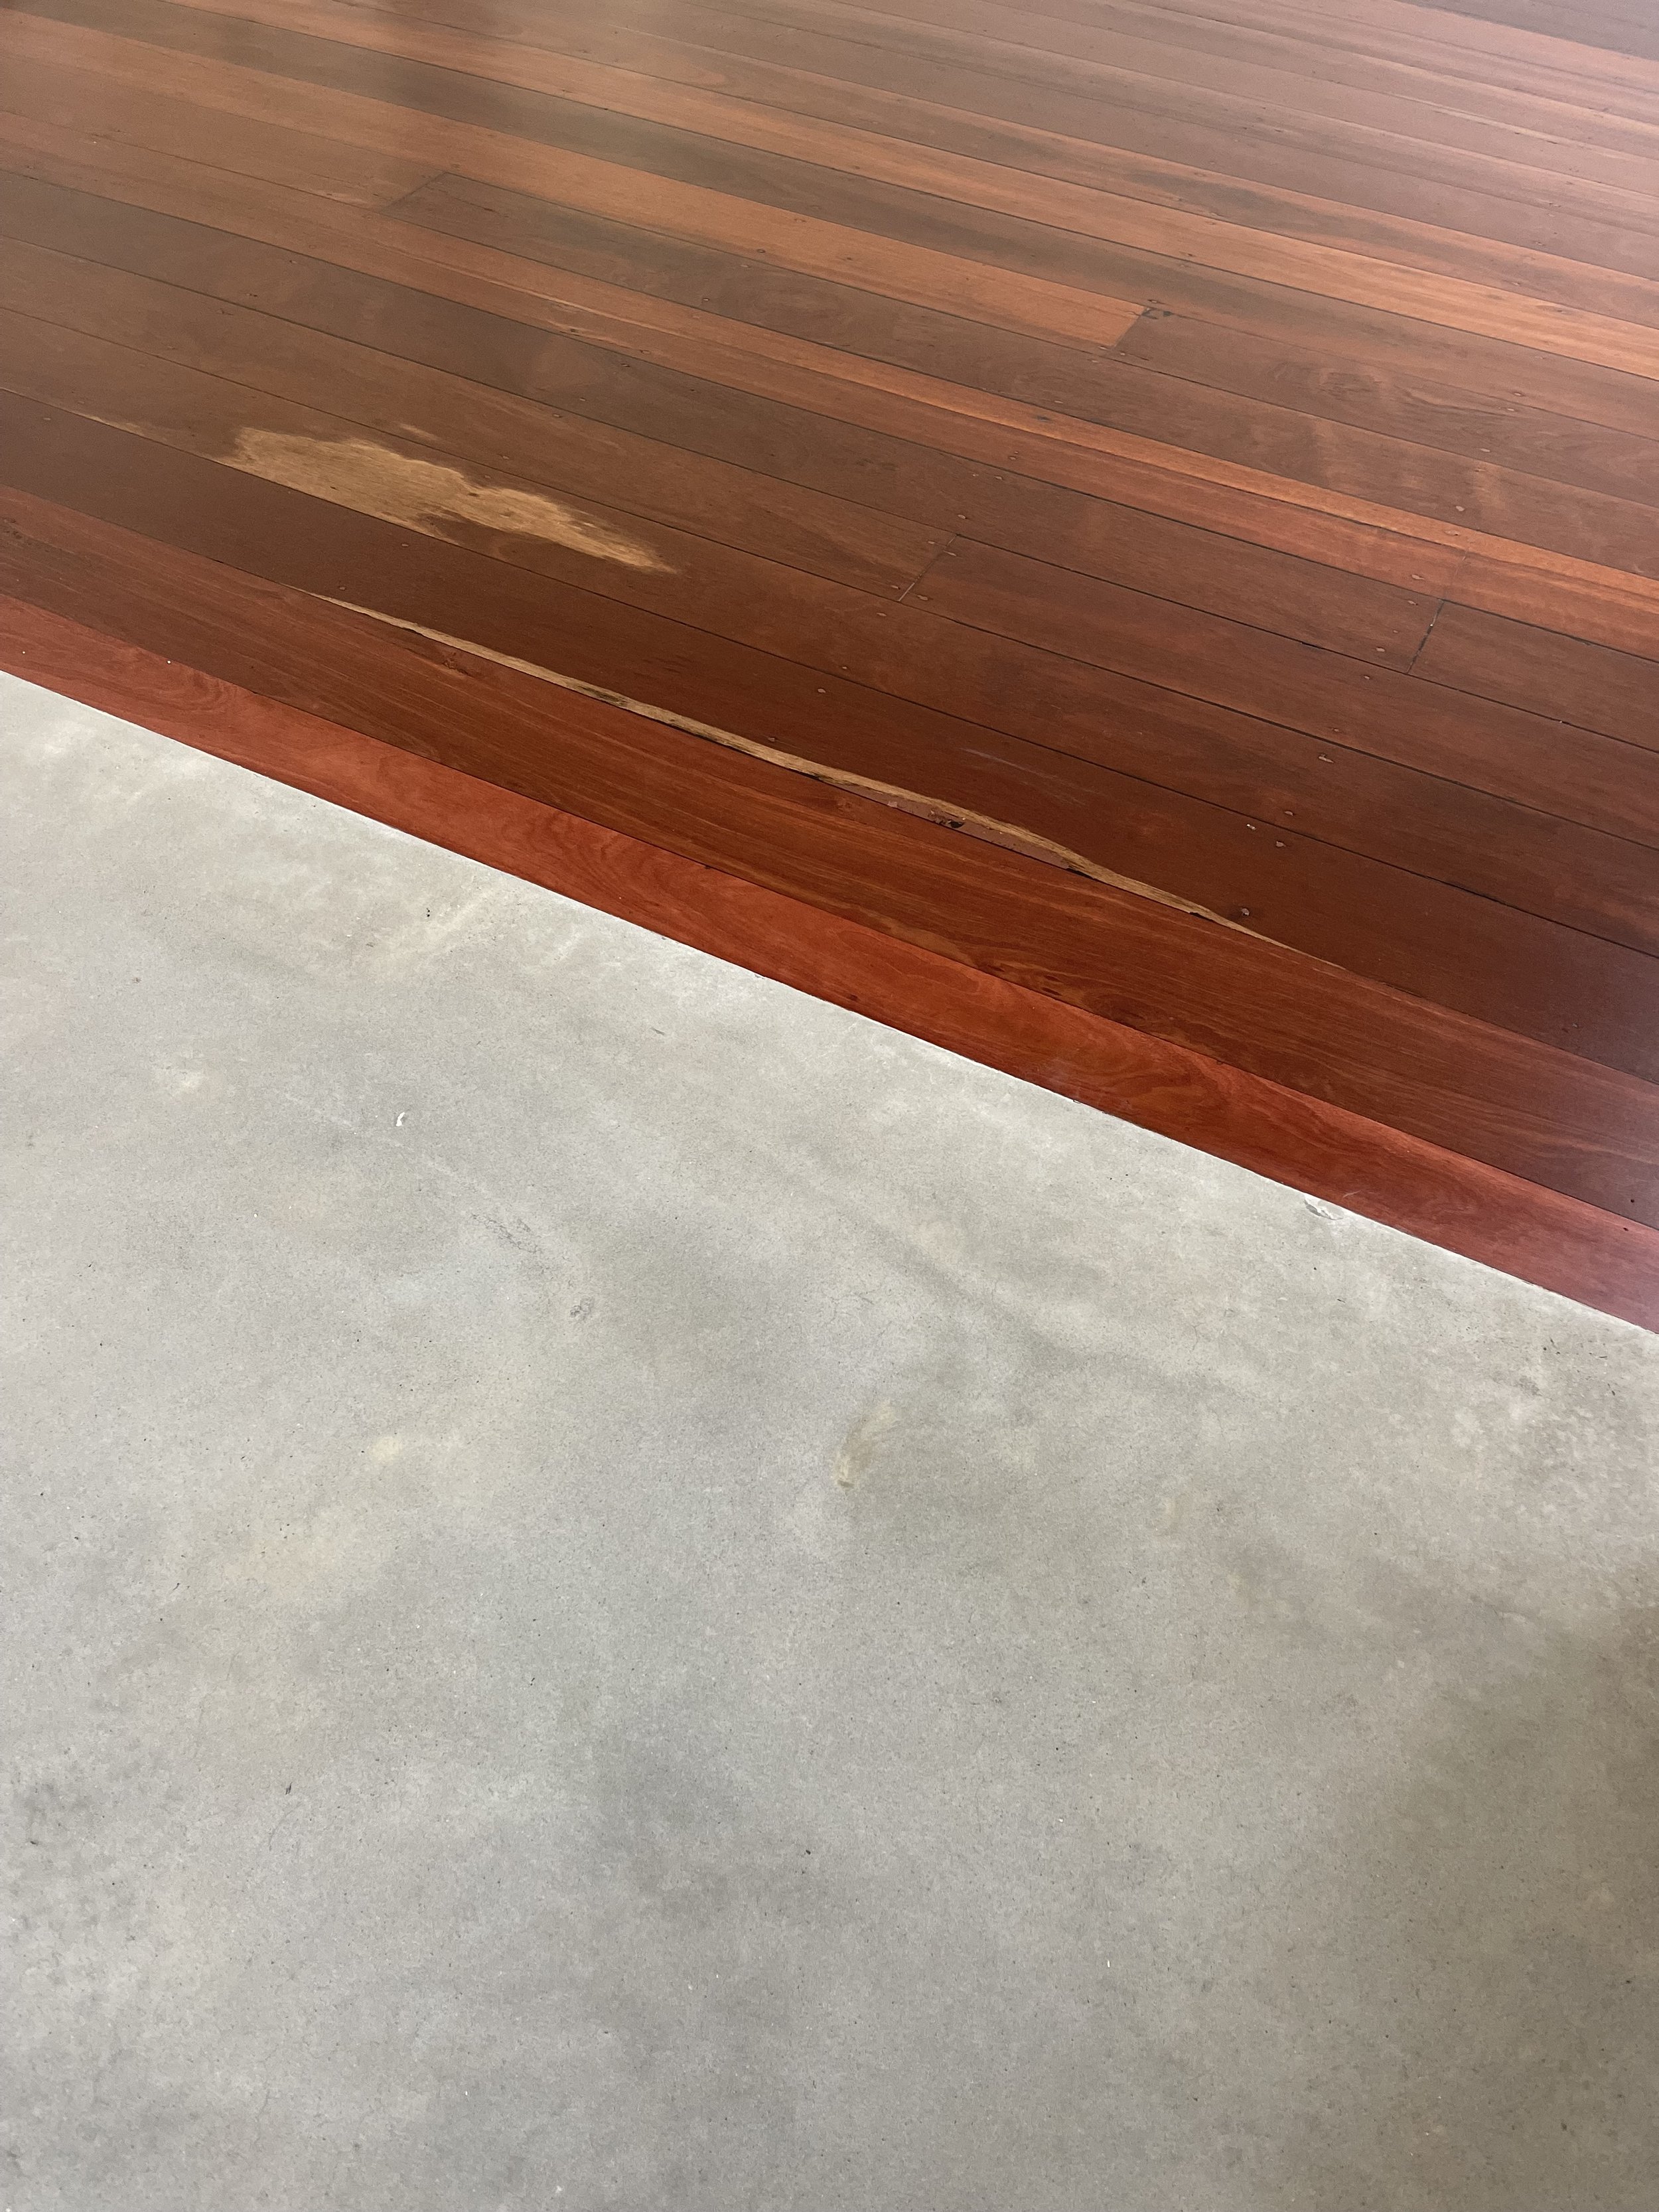
When transitioning between timber and either carpet or concrete, there’s no need for any additional materials. If the timber runs parallel to the other surface, all you need to do is ensure the last timber board sits flush against the other material. If the timber is perpendicular, though, a header board will be necessary to close off the end grain of the timber against the other floor finish.
At this stage, if you’ve found that the finished floor heights aren’t flush, there are a few things you can do. With floorboards, the header board can be installed at a slight angle to meet the height of the other floor. For a high-end finish, however, consistent floor heights should be a top priority to avoid needing such a solution.
External doors
The transition between internal and external flooring is a bit more complicated than inside. Here, you have two options: build the interior and exterior floors to be at the same level or build the inside higher than the outside. What choice you make will likely depend on the weather in your location but there are pros and cons to each.
With a level transition, there’s a much higher risk of driving rain and water ingress—when water from the outside gets into the inside of a building. This is a problem for obvious reasons and something you want to avoid. To help with this, a drainage system needs to be installed with a linear grate and sub sill tray, however, these don’t completely mitigate the risks as they can still overflow during heavy rains. The permeability of the outside surface can also play a role here. Water can drain through materials like decking or paving, but have nowhere to go with concrete or tiling, increasing the risk of the sub sill tray overflowing.

The linear grate and sub sill tray are extra important in this level transition due to the concrete outside surface.
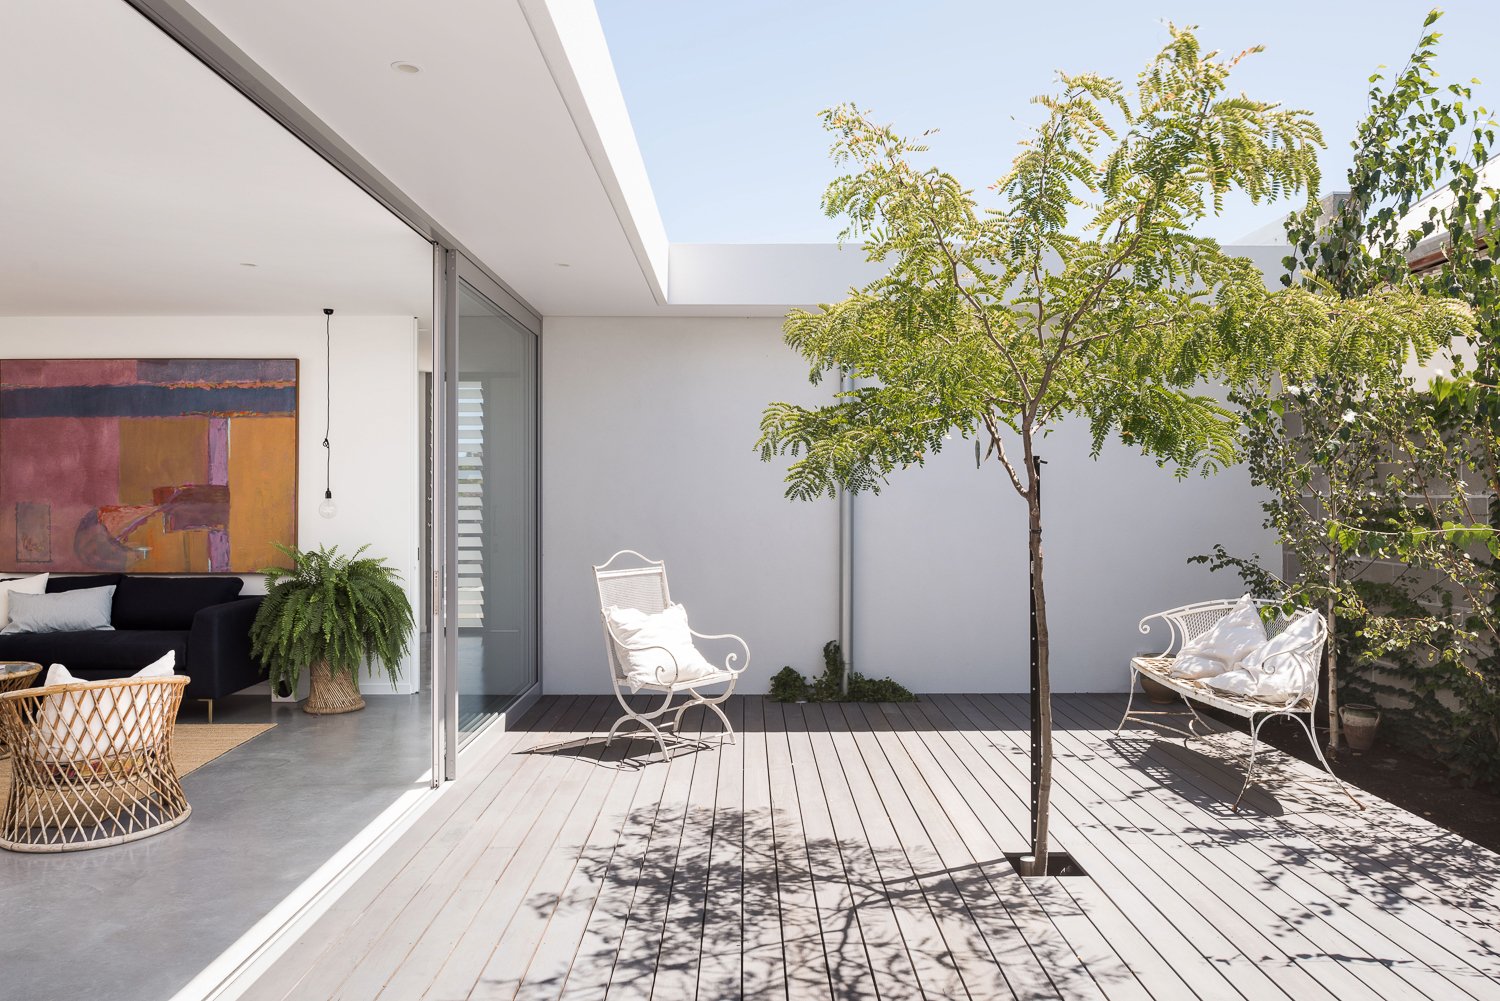
An exterior surface of decking has a lower risk of water ingress as it’s self-draining.
For that reason, it’s still most common to build the external surface lower than the internal flooring. This ensures the interior is completely protected from water ingress. The necessary step up into the home is a small compromise to ensure no water damage inside. With this design, the door frame should always be built level to the interior flooring, with the step down sitting flush with the exterior of the door. It’s also important to consider the type of door you’re using, but that’s a whole new point that deserves its own blog.
A stunning example of a small step to a lower external surface.
As with many small details that can make or break a home’s design, floor transitions are more important than they seem. At Arklen, we recognise how important those small details are for both the aesthetics of a home, but also the quality of life for the people within them. Floor transitions are the type of thing you only notice when they’re not done well; our goal is that you won’t notice them.